Green Chile Chicken Enchilada Casserole
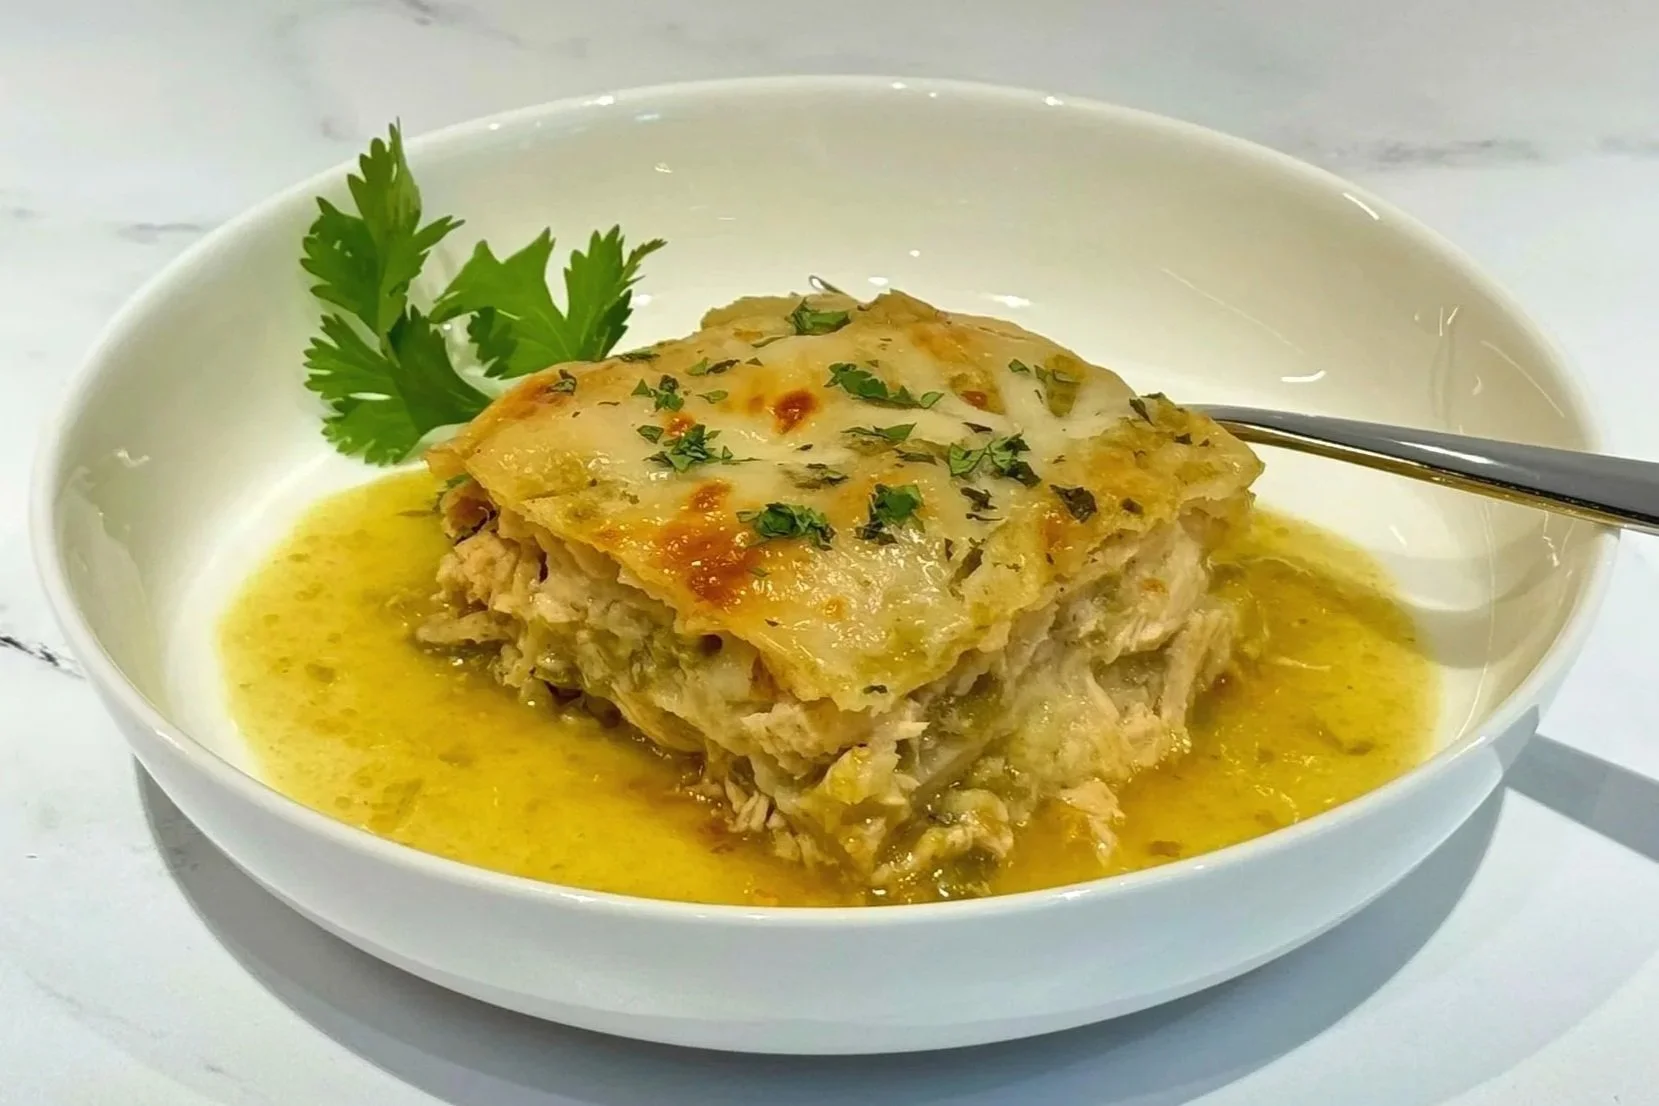
This Green Chile Chicken Enchilada Casserole is the ultimate comfort food! This flavor-packed dinner is loaded with tender chicken, zesty green chiles, layers of tortillas, creamy, cheesy goodness, and delicious enchilada flavor. These flavorful ingredients come together in a delicious, family-friendly dinner. Perfect for a comforting weeknight meal, and it’s even better the next day when the flavors have had time to meld!
To learn how to make this delicious and comforting, chicken tortilla casserole recipe, see the printable recipe card below or take a look at the recipe video. It’s a great make ahead recipe! For quicker recipe variations, and to learn about the history of this Mexican-style casserole recipe, please visit the Pimp My Recipe section in my Blog Comments & Tips below.
Sign up for a free subscription to our monthly newsletter and access to exclusive content.
To browse some of my favorite kitchen essentials, gadgets, and pantry items, visit the Recommended Products page.
RECIPE
(Printable recipe card below.)

GREEN CHILE CHICKEN ENCHILADA CASSEROLE
This easy Green Chile Chicken Enchilada Casserole is the ultimate comfort food! Tender chicken, zesty green chiles, layers of tortillas, and creamy, cheesy goodness come together in a delicious, family-friendly dinner. Make it ahead of time — the leftovers taste even more delicious the next day as the flavors meld together!
Ingredients
Instructions
- Chop onion, and mince garlic, and set each one aside (see Note #1).
- Heat a stock pot on medium heat, and add olive oil and butter. Once butter is melted, add onion, salt, and pepper, and sauté until softened and translucent (about 5-7 minutes). Add garlic, and sauté for only 1 minute until fragrant.
- Add chicken stock, raise to medium-high heat, and bring to a boil. Once boiling, add chicken, reduce heat to medium-low (or low), and simmer for about 10 minutes (or until cooked through). Using tongs, remove chicken, and transfer to a plate to cool. Once cooled, shred the chicken, and set aside for assembly.
- Raise to high heat on the stock pot, and bring stock to a rolling boil. Continue to boil until stock is reduced by half. While stock is reducing, make cornstarch slurry. Add about ¼ to ⅓ cup cold milk to a small mixing bowl. Whisk in cornstarch, until combined and smooth, and set bowl aside.
- Once the stovetop stock has reduced by half, reduce heat to medium, and whisk in the remaining cold milk (about ⅔ to ¾ cup). Continue to whisk while bringing it to a simmer until combined, heated through, and slightly thickened (about 2-3 minutes). Whisk in the cornstarch slurry until thickened (about 1-2 minutes – it should coat the back of a spoon). Remove from heat, transfer creamy chicken stock to a large mixing bowl, and cool to room temperature.
- Place oven rack in the center of the oven and preheat oven to 375°F. Grease a deep 9x13 inch baking pan with butter or olive oil, and set aside.
- Add Greek yogurt to the cooled creamy chicken stock, and whisk until well combined. Using a silicone spatula, mix in green chiles. Add shredded chicken, mix until chicken is fully incorporated. Transfer to a large measuring cup (8 cup), and set aside.
- In a large measuring cup (4 cup), add the green enchilada sauce, and stir in the salsa verde (see Note #4).
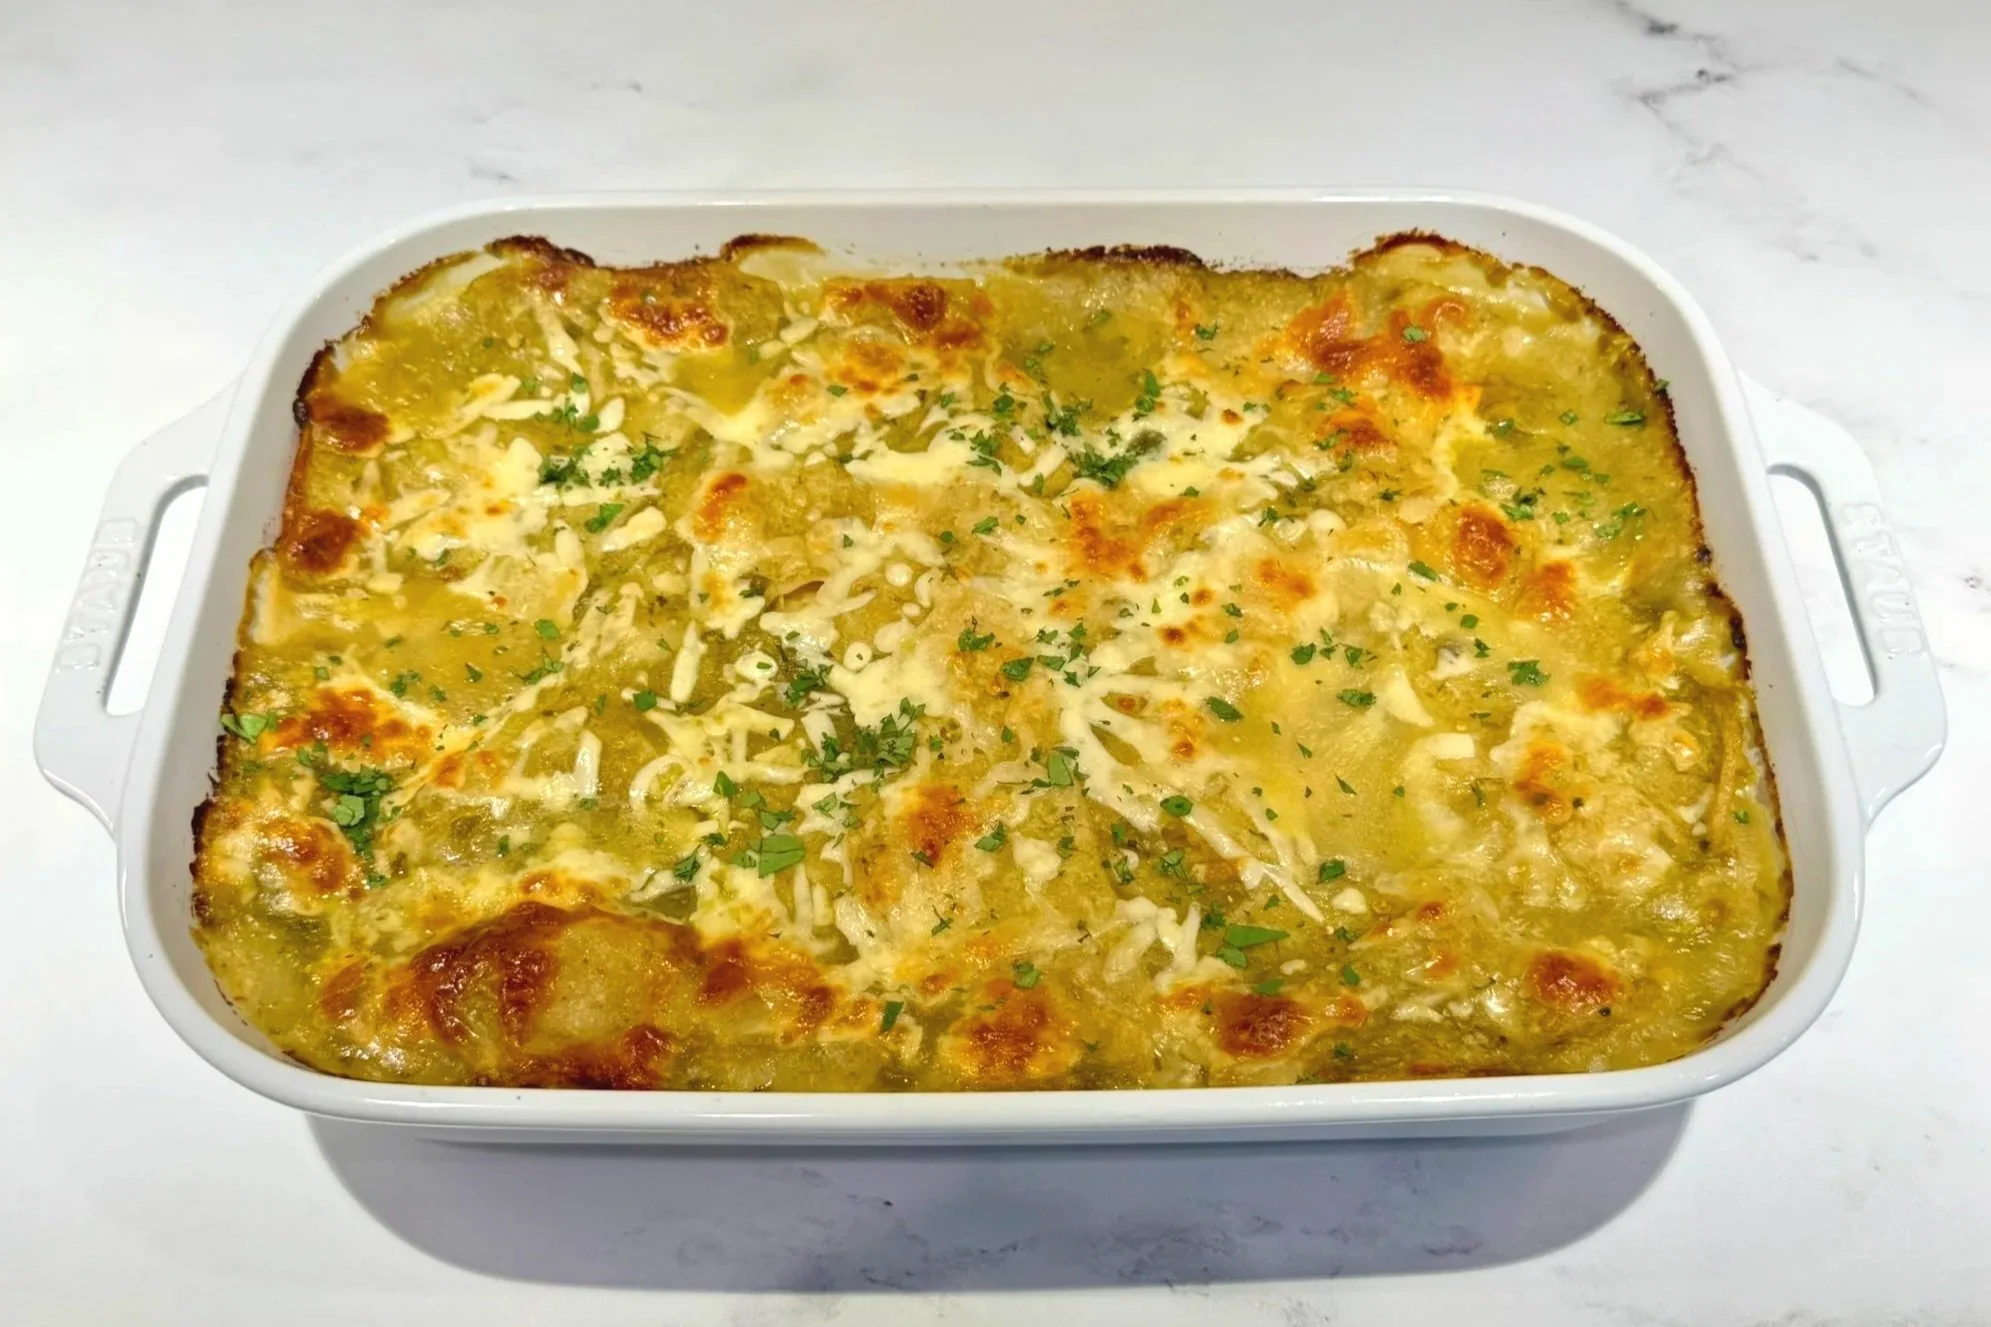
- Assembly — First Layer (see Note #4): Spread about 1 cup of green enchilada sauce mixture on bottom of greased baking pan, layer ⅓ of the tortillas (about 3 fit to size - see Note #3), ½ of the chicken mixture, and ⅓ of the shredded cheese (evenly distribute every ingredient). Second Layer: ⅓ of the tortillas (about 3 ½), about 1 ½ cups green enchilada sauce mixture, all the remaining chicken mixture, and ⅓ of cheese. Final Layer: Remaining tortillas (about 4), followed by remaining enchilada sauce mixture sauce (about 1 ½ cups - see Note #5), and remaining cheese.
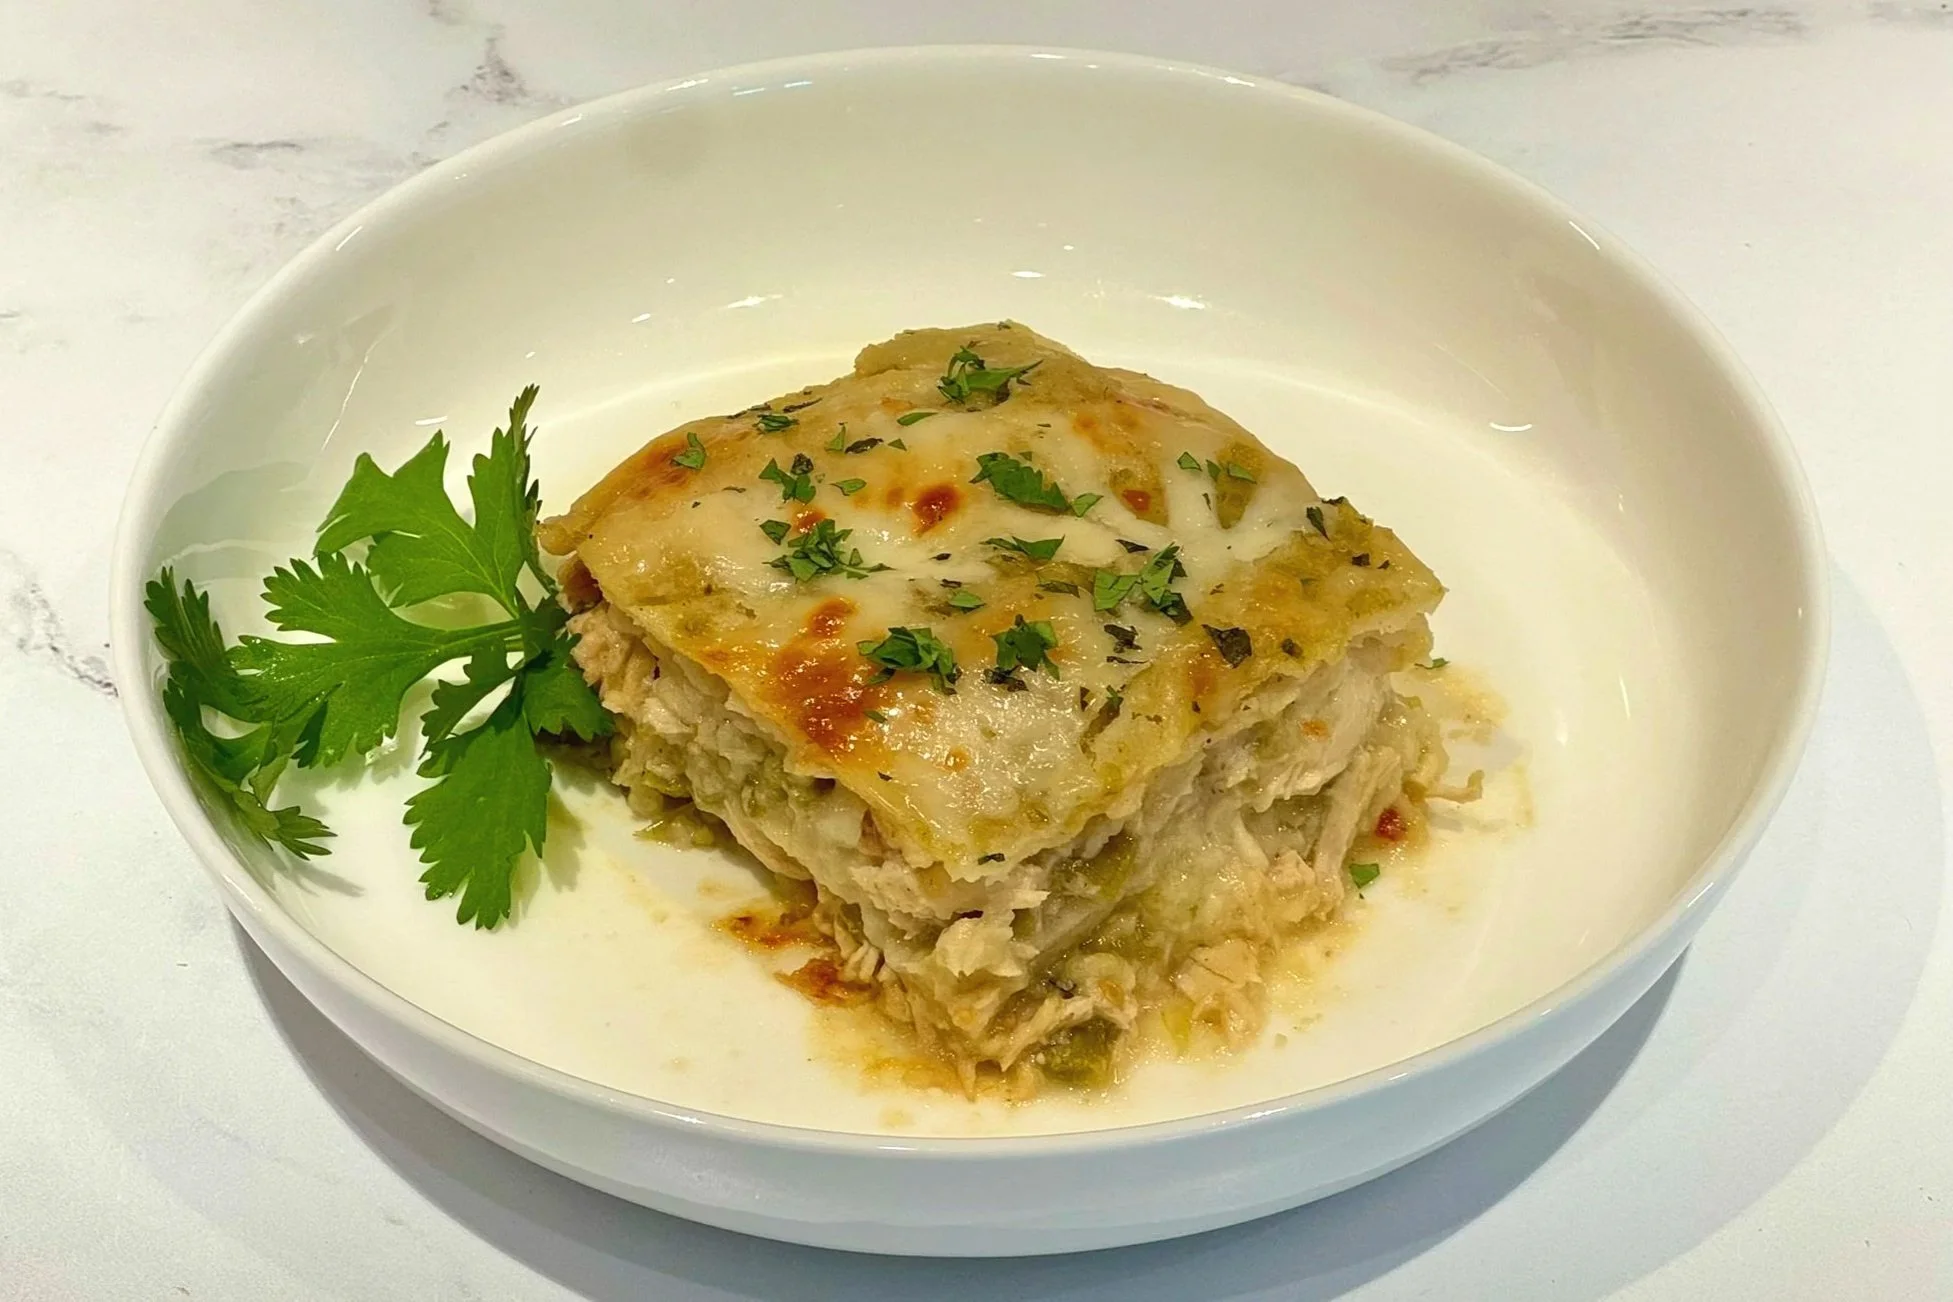
- Bake uncovered for 25-30 minutes until bubbling hot, the cheese is melted, and lightly golden brown. Remove from the oven, cover with foil, and allow to rest at room temperature for 20-30 minutes (this will help it set). Serve enchilada casserole on top of warmed sauce (optional - see Note #6), and garnish with chopped cilantro, plus a sprig of fresh cilantro (optional). Enjoy!
Notes
- This is an elevated and slightly healthier version of the nostalgic chicken tortilla casserole recipe. To make this casserole the quick way (without making your own sauce), for details visit the Pimp My Recipe section in my Blog Comments & Tips for this recipe on the website.
- You will need to thicken the sauce by adding a cornstarch slurry. You will use only ¼ to ⅓ cup of cold milk for the slurry. The remaining cold milk is whisked into the stock.
- Whole tortillas will result in a more layered casserole (like a lasagna). You will need about 3 to 4 tortillas for each layer. For a more rustic feel, you can cut or tear the corn tortillas into larger pieces (about 8-10 pieces per tortilla). Keep in mind, the torn version will create a more casserole-style texture that can be spooned out onto a plate (not cut like a lasagna). It’s not as visually appealing as the layered whole tortilla method, but either way will taste just as good. To see how I layered this casserole, watch the recipe video on my website.
- I like to transfer all the sauces and layering ingredients into large measuring cups. This makes it easier to pour/distribute the right amount of each ingredient onto every casserole layer.
- This recipe uses a lot of green enchilada sauce, which helps it stay flavorful and moist when reheating leftovers. If you find that the final layer uses too much sauce, you can reserve some of the sauce (about 5 ounces) for plating/serving.
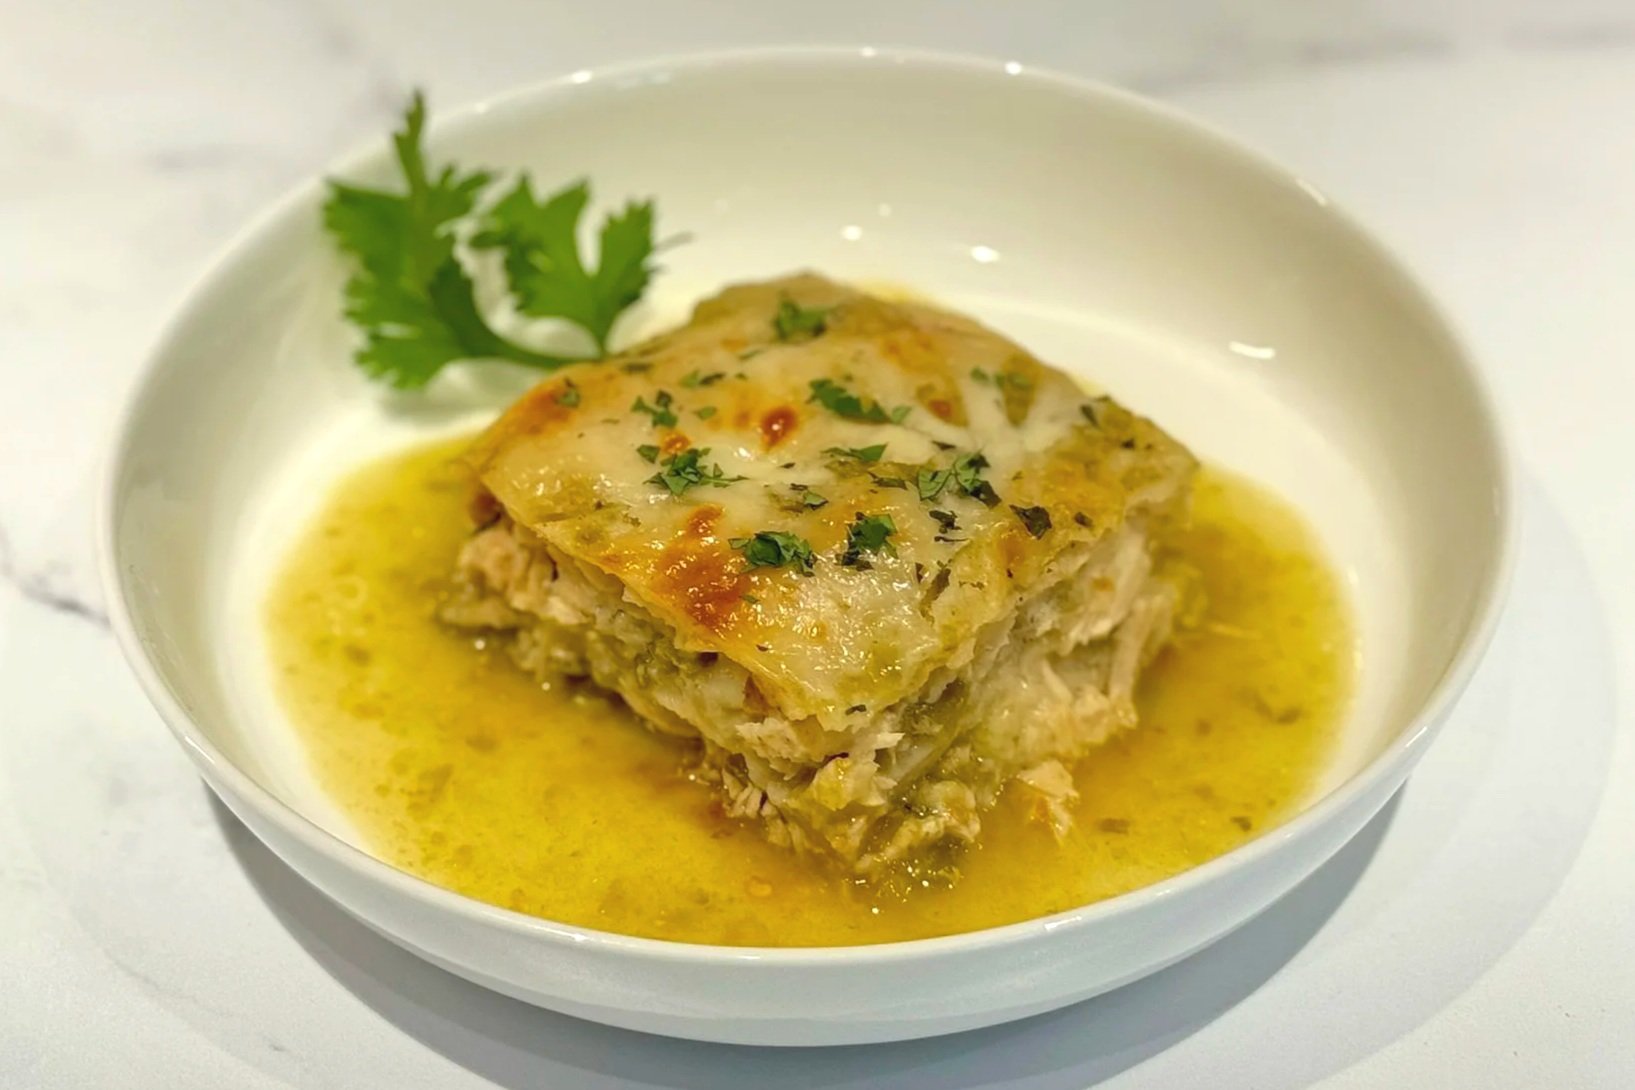
- SERVING: If you like a lot of sauce with your casserole, I suggest purchasing the larger bottle of Herdez salsa verde (16 ounces) instead of just one 7 ounce can of salsa verde. For layering the casserole, you will only need 7 ounces of the salsa verde to mix with the enchilada sauce. You can use the remaining salsa verde for plating and serving. Just heat the salsa verde (or any remaining green enchilada sauce) in the microwave, then spoon about 2 tablespoons (or more to taste) onto each plate to create a bed of sauce for each piece of casserole, then top with a serving of the casserole (e.g., see the photo on the recipe card).
- Makes 12 servings.


Nutrition Facts
Calories
292Fat (grams)
13 gSat. Fat (grams)
6 gCarbs (grams)
18 gFiber (grams)
2 gNet carbs
16 gSugar (grams)
4 gProtein (grams)
26 gSodium (milligrams)
682 mgCholesterol (grams)
60 mgNutritional information provided is strictly an estimate and will vary based on ingredient brands and cooking methods. Nutritional calculations do not include optional garnishes.
SERVING SUGGESTIONS
Remove from the oven, and let rest for about 20 - 30 minutes. Serve as is with a sprinkle of chopped cilantro, and/or with some salsa verde!
VIDEO
How to Make this Comforting & Delicious Green Chile Chicken Enchilada Casserole!
Blog Comments & Tips
The History of Green Chile Chicken Enchilada Casserole: A Classic Since the 1960s
Long before my Green Chile Chicken Enchilada Casserole became a favorite family dinner, this comforting dish was known as Viva La Chicken Tortilla Casserole. Dating back to the early 1960s, this dish reflected the growing popularity of Mexican-inspired flavors in American home cooking and the rise of convenient, one-dish casserole recipes. I remember it as one of my very favorite dishes growing up. Since then, I updated the recipe to make it healthier and much more flavorful.
The Origins of Chicken Tortilla Casserole
During the 1960s, casseroles became a popular choice for busy home cooks looking for affordable, satisfying meals that could feed the whole family. Inspired by the flavors of Tex-Mex and Mexican cooking, home cooks began layering familiar ingredients such as corn tortillas, chicken, green chiles, tomato sauce, and cheese into hearty baked dishes.
By 1966, newspaper recipe contests were featuring Chicken Tortilla Casserole, demonstrating how quickly this Mexican-inspired comfort food was finding a place on American dinner tables. Similar recipes combined tortillas, creamy soups, green chiles, and melted cheese to create an easy alternative to preparing individual enchiladas. The 1966 Mexican-style tortilla casserole recipe featured green chiles, tortillas, sour cream, cream of chicken soup and/or cream of mushroom soup, and two kinds of cheese. My mother first started making the Viva La Chicken Tortilla Casserole from a local recipe book that was filled with “favorite recipes” from the teaching staff in the region. The recipe book was created as a fundraiser that circulated throughout teaching staff and their families in our county.
From Chicken Tortilla Casserole to Green Chile Chicken Enchilada Casserole
Over the years, this classic casserole has inspired countless variations. The original concept of layering tortillas, chicken, sauce, and cheese has evolved to include everything from roasted green chiles and tangy green enchilada sauce to different cheeses, spices, and creamy homemade sauces.
Today, Green Chile Chicken Enchilada Casserole delivers all the delicious flavors of traditional chicken enchiladas in a simple, layered casserole. The tender chicken, zesty green chiles, savory sauce, and melted cheese create a comforting combination that's easy to prepare and perfect for sharing.
Why This Classic Recipe Is Still a Favorite
Part of the enduring appeal of Chicken Tortilla Casserole is its simplicity. Instead of rolling individual enchiladas, you layer the ingredients in a baking dish, let the oven bring everything together, and serve a hearty meal with minimal fuss. It’s sort of like a Mexican-style lasagna.
And here's one of the best things about this recipe: It’s a great make ahead recipe because the leftovers are even better! As the casserole rests, the flavors have more time to meld together, making the next day's serving just as delicious — if not better than the first. Plus, it’s a bit easier to serve the next day.
Whether you call it Chicken Tortilla Casserole or Green Chile Chicken Enchilada Casserole, this nostalgic, Mexican-inspired comfort food is a wonderful example of how a simple family recipe can stand the test of time. This nostalgic recipe is a great make ahead recipe that can be reheated the next day to make it an easy weeknight dinner. It’s every bit as welcome on today's table as it was generations ago.
How do you ensure the best results from this recipe?
My 5 tips to making this upgraded Green Chile Chicken Enchilada Casserole:
Use organic boneless skinless chicken breasts.
Don’t overcook your chicken breasts. Simmering them for 10 minutes is typically enough to make sure they are cooked through, but not dried out. Let them rest until they are warm, but not hot.
Shredded chicken takes a little time if you do it by hand. Use two forks to shred the chicken, or you can use the meat claws for shredding. For a quick method, put the warm (not hot) chicken in a stand mixer fitted with a paddle attachment, lock the mixer in place, and on low (speed 1 or 2), mix until chicken is shredded (about 15 to 60 seconds)..
After the chicken is cooked and shredded, bring stock to a rolling boil on high heat, and reduce the chicken stock by half. You’ll end up with about 3 cups of reduced stock. This step is very important, as it adds loads of flavor to the casserole.
Once baked, allow the casserole to rest for at least 20 minutes (and up to 30 minutes), prior to cutting and serving. This will help it retain its shape instead of becoming a soupy mess. If it seems too loose when you make the first cut, just cover and let it rest a while longer. Leftovers are always a little easier to serve.
It’s time to customize and Pimp My Recipe.
Pimp My Recipe:
Make it Quicker: Don’t have time to reduce and make the sauce? It won’t be quite as flavorful, but it will still be tasty (just more mild in flavor). The following adjustments are closer to the original 1960s recipe:
Omit the onion and garlic, and just simmer the chicken in the stock (use the stock to make another recipe within 2 days). A second option is to simmer the chicken in water, but it won’t be as flavorful. A third option is to bake it, then shred it.
To replace the chicken stock sauce, just layer the casserole with 2 cans of cream of chicken soup or 2 cans of cream of mushroom soup. You do not have to heat it, just mix in the chiles and shredded chicken, and spread the room temperature mixture onto each layer. Follow the rest of the recipe from Step 3.
Make it Quicker & Lighter: As with the “quicker version” above, the flavor will be much milder. The following adjustments are from the original 1960s recipe:
Omit the onion and garlic, and just simmer the chicken in the stock (use the stock to make another recipe within 2 days). A second option is to simmer the chicken in water, but it won’t be as flavorful. A third option is to bake it, then shred it.
To replace the chicken stock sauce, mix 1 can of cream of chicken soup (or 1 can of cream of mushroom soup), and 1 cup of whole milk. You do not have to heat them. Just whisk them together, mix in the chiles and shredded chicken, then pour and spread the room temperature mixture on each layer. Follow the rest of the recipe from Step 3.
Enjoy and let me know what you think by commenting below, rating my recipes, subscribing, following, and liking Prep My Recipe on Pinterest, Instagram, Facebook, YouTube, and TikTok! Don’t forget to subscribe to get updates on new recipes and tips & tricks.
Happy Cooking!
Mich
Footnote: Remember to allow the finished casserole to cool for at least 20-30 minutes before serving.

Adapted from the original Viva La Chicken Casserole recipe (author unknown) from the regional Teacher’s Association recipe book from the 1960s. I’ve taken this nostalgic recipe, made it healthier, and much more flavorful by making my own sauce (instead of using cream of chicken soup cans). My version is delicious, flavorful, and almost guilt-free, considering this casserole is really comfort food in one dish. I hope you enjoy it as much as my family and I do!
Every editorial product is independently selected. I may be compensated or receive an affiliate commission if you purchase products via these links. As an Amazon Associate, I earn from qualifying purchases.