Red Beet Roasted Garlic Hummus
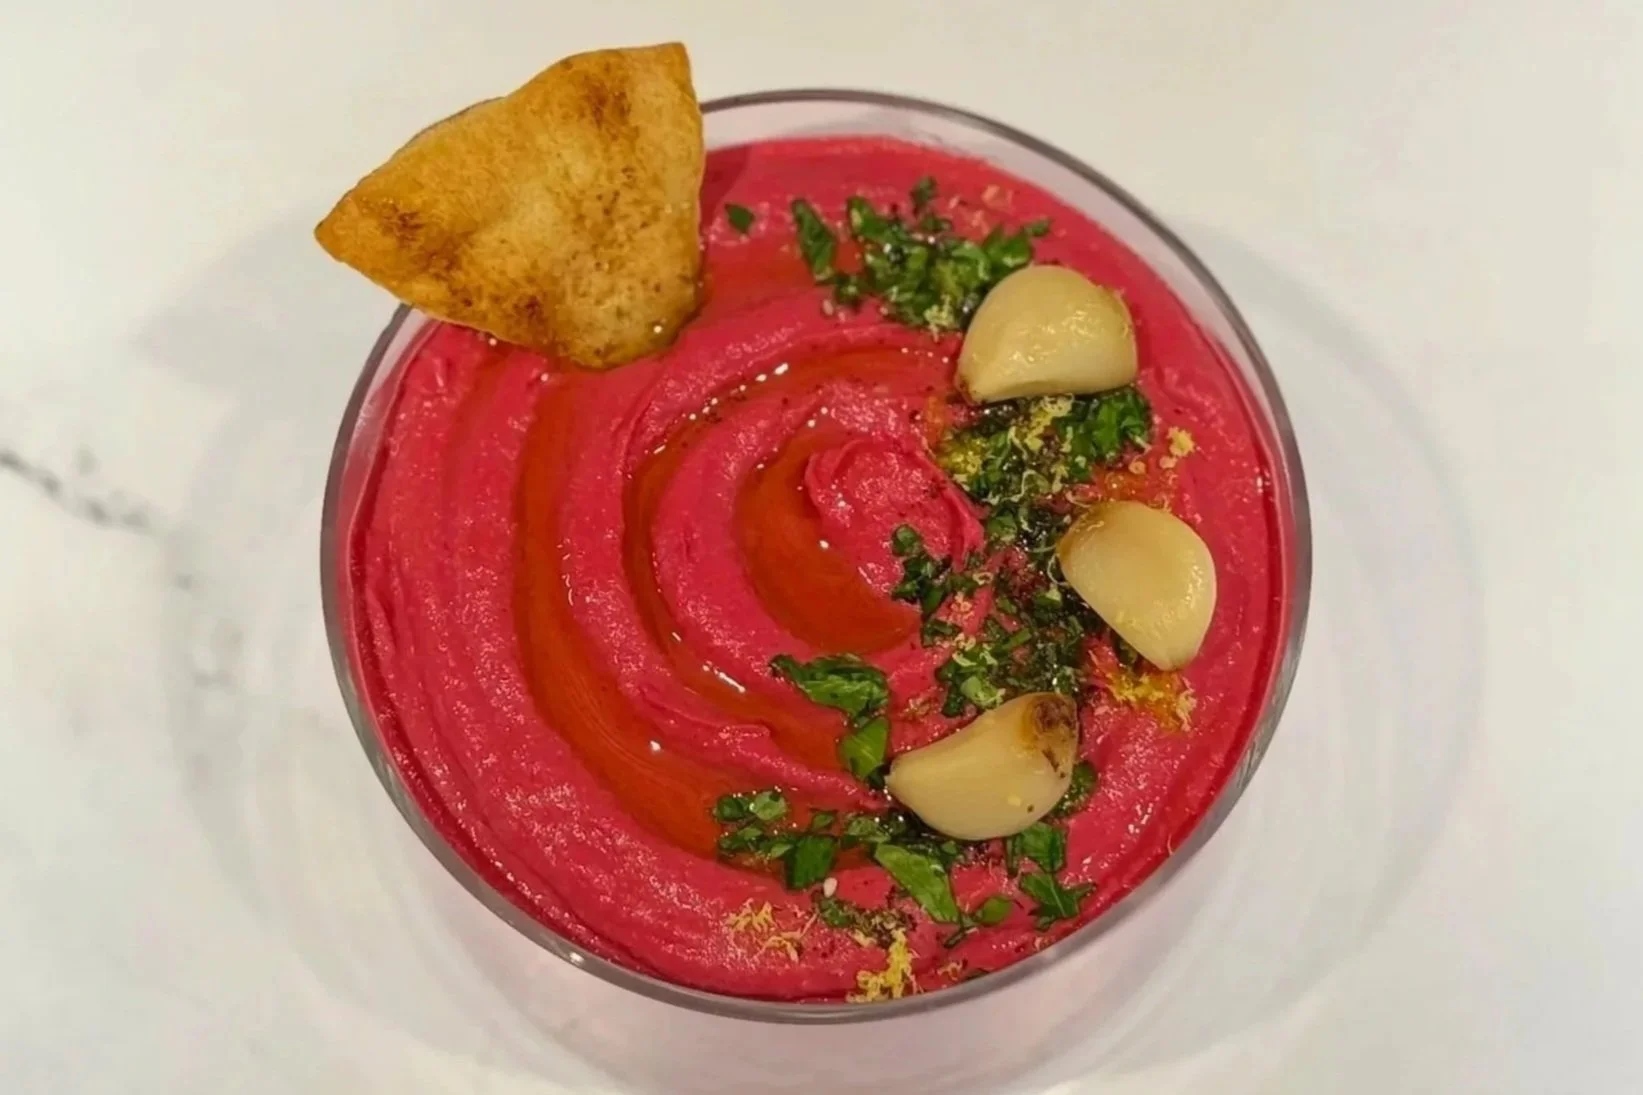
This creamy Red Beet Roasted Garlic Hummus recipe takes classic homemade hummus to the next level. Made with tender roasted red beets, chickpeas, tahini, lemon, and simple ingredients, a special blending technique creates the creamiest beet hummus ever. Vibrant, flavorful, and naturally beautiful, it’s perfect as a healthy dip for vegetables, pita, sandwiches, and snack boards.
To learn how to make this ultra-smooth hummus, see the printable recipe card below or take a look at the recipe video. For other recipe variations and to learn about the health benefits of this Red Beet Roasted Garlic Hummus recipe, visit the Pimp My Recipe section in my Blog Comments & Tips below.
Sign up for a free subscription to our monthly newsletter and access to exclusive content.
To browse some of my favorite kitchen essentials, gadgets, and pantry items, visit the Recommended Products page.
RECIPE
(Printable recipe card below.)

RED BEET ROASTED GARLIC HUMMUS
This beautiful vibrant Red Beet Roasted Garlic Hummus recipe is a delicious twist on classic homemade hummus, blending earthy roasted beets with creamy chickpeas, tahini, fresh lemon, and garlic. Naturally colorful and packed with flavor, this easy beet hummus makes a beautiful healthy dip for vegetables, pita, sandwiches, and snack boards.
Ingredients
Instructions
- Scrub and roast whole beets until tender (can be made ahead - see Note #1). While the beets are roasting, prepare the chickpeas.
- Place a fine mesh strainer on top of a large measuring cup (2 or 4 cup), drain chickpeas, reserving the liquid in the measuring cup. Rinse the chickpeas well, and add them to a small saucepan (2 quart). Cover with cool water (about 1-2 inches above chickpeas), add baking soda, stir, and on medium-high heat, bring to a boil. Once it reaches a boil, reduce heat, and simmer partially covered for 20 minutes. Drain chickpeas, and set aside to cool.
- Once beets are just cool enough to handle (easier to peel when warm), use protective gloves to remove and discard the peels (see Note #3), give them a quick rinse to remove any remnants of skin (peel), then roughly chop the beets. Zest and juice lemon(s). Set each ingredient aside.
- To a large food processor (11 cup), add lemon juice, roasted garlic (if using raw garlic, see Note #4), tahini, cumin, coriander, salt, and pepper, and process until smooth (about 1 minute). Scrape down sides and bottom of processor bowl. Process another 10-15 seconds. Add drained chickpeas, chopped beets, and lemon zest, and pulse until combined and it reaches a coarse paste (about 1 minute), scraping bowl when needed.
- While the processor is running, add olive oil in a slow stream, and then slowly add about 3 tablespoons of reserved chickpea liquid. Once hummus is blended a little more smoothly, stop the processor, and scrape down the bottom and sides (if not fully combined, you may need to process again for a few seconds, then scrape once or twice more). Stop the processor, and add 2 large ice cubes (this step makes it extra smooth). Process for about 1-2 minutes (scraping as needed), until silky smooth. Taste and adjust seasoning, if needed (see Note #5).
- Transfer to a serving bowl and cover, or to an airtight glass container, and refrigerate for a minimum of 2 hours (or overnight) to allow the flavors to develop (see Note #6). When ready to serve, drizzle and sprinkle with optional garnishes. Serve with pita chips, pita bread, or crackers, and enjoy!
Notes
- To find out an easy way to roast whole beets, just watch the how to video on my TIP #33 - How to Roast Beets (Whole) - Best Method. Be sure to roast a bunch of beets and use them in other recipes. They can be made ahead of time, and stored in an airtight glass container in the refrigerator for up to 5 days.
- My favorite brands of tahini paste are Haddar by Baracke tahini, Seed + Mill organic tahini, or Soom organic tahini.
- Beets will stain your hands and fingernails, so protective gloves are necessary. If you are struggling to easily peel the skins off the beets, try using paper towels to rub off the remaining bits, then give them a quick rinse in water.
- If using raw garlic, first add only lemon juice and raw garlic cloves to the processor, and process until well minced (or a paste). Add remaining ingredients as noted in Step 4.
- Keep in mind that the flavors will meld and develop over time.
- Store refrigerated in an airtight glass container for up to 5 days. Can be made ahead of time.
- Makes about 2 cups (16 servings, 2 tablespoons per serving).


Nutrition Facts
Calories
82Fat (grams)
5 gSat. Fat (grams)
1 gCarbs (grams)
7 gFiber (grams)
2 gNet carbs
5 gSugar (grams)
1 gProtein (grams)
3 gSodium (milligrams)
145 mgCholesterol (grams)
0 mgNutritional information provided is strictly an estimate and will vary based on ingredient brands and cooking methods. Optional garnishes are not included in the nutritional calculations.
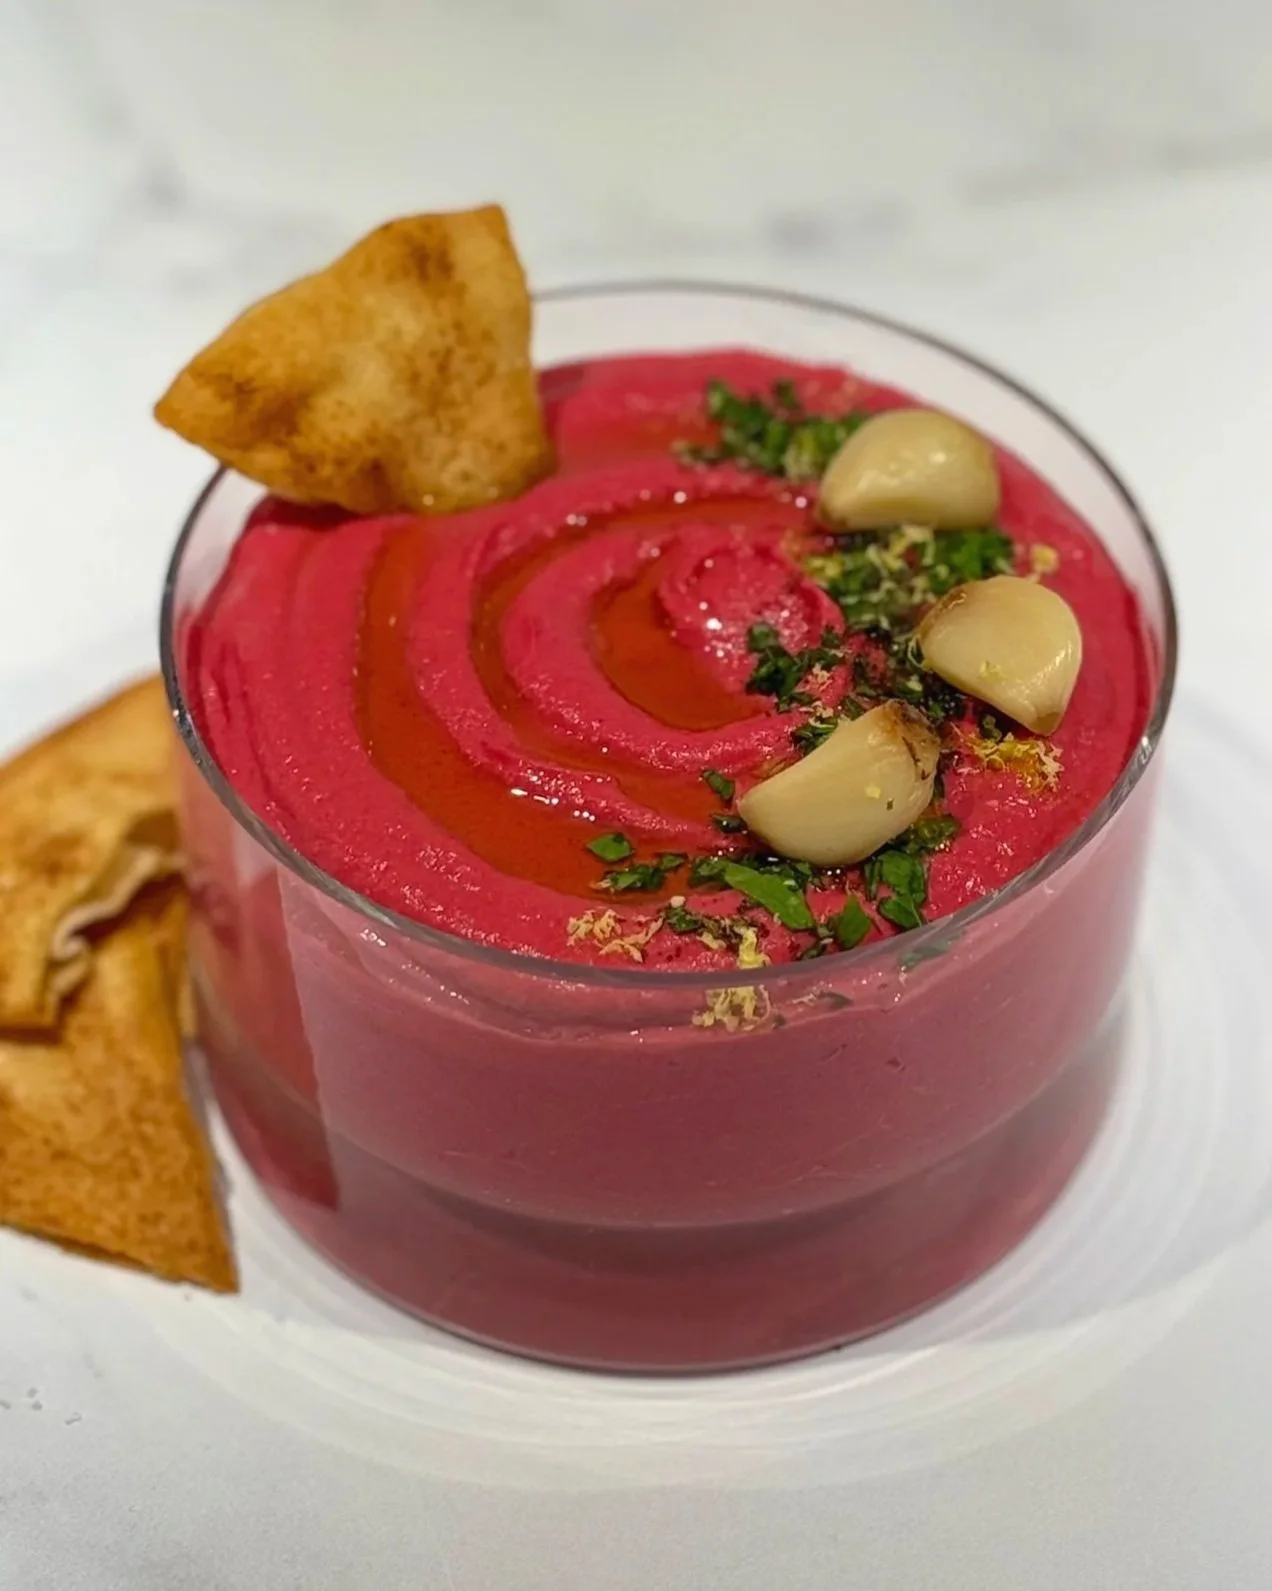
SERVING SUGGESTIONS
When ready to serve, sprinkle and drizzle with optional garnishes (chopped parsley, Za’Atar seasoning, lemon zest, and more roasted garlic. Serve with pita chips, pita bread, or crackers, and enjoy!
VIDEO
How to Make this Extra Smooth Red Beet Roasted Garlic Hummus Recipe!
Blog Comments & Tips
Creamy Red Beet Hummus: Health Benefits & the Secret to Extra-Smooth Hummus
This vibrant Red Beet Roasted Garlic Hummus is as nutritious as it is beautiful. With earthy-sweet beets blended into creamy chickpeas, tahini, lemon, and other simple ingredients, creating a flavorful twist on classic homemade hummus. It’s a delicious way to add more fiber, plant-based protein, vitamins, minerals, and antioxidants to your meals and snacks.
Health Benefits of Beet Hummus
BEETS: Beets are naturally rich in folate, potassium, and antioxidants, including betalains—the compounds responsible for their gorgeous ruby-red color.
CHICKPEAS (GARBANZO BEANS): Chickpeas provide plant-based protein and fiber, making hummus a satisfying dip or spread.
TAHINI: Tahini is made from sesame seeds and contributes healthy unsaturated fats to this recipe, along with minerals such as calcium, magnesium, and iron.
ROASTED GARLIC: Roasted garlic adds another layer of flavor while providing beneficial plant compounds. Together with lemon juice, tahini, chickpeas, and beets, these ingredients create a flavorful hummus that works beautifully as part of a balanced snack or meal.
The Trick to Extra-Smooth Hummus
The secret to getting this Red Beet Roasted Garlic Hummus extra creamy and smooth is surprisingly simple: ice cubes and a little chickpea liquid.
After all ingredients are blended (including the olive oil), drizzle 3 tablespoons of the reserved chickpea liquid (also known as aquafaba). The final step to an extra-smooth hummus is to add a couple of large ice cubes, and blend for 1-2 minutes. The ice helps cool the mixture while the added liquid gives the chickpeas and tahini enough moisture to emulsify everything into an exceptionally smooth, silky consistency.
The result is ultra-creamy homemade beet hummus with a beautiful color, rich roasted garlic flavor, and a silky texture that's perfect for dipping, spreading, or serving as part of a mezze platter.
How do you ensure the best results from this recipe?
My 5 Tips for Ultra-Smooth Red Beet Roasted Garlic Hummus:
Simmering the chickpeas in water and baking soda softens them, which helps them to break down more easily, creating a smoother, creamier hummus.
Blend the tahini, roasted garlic, lemon juice, and spices first before adding the other ingredients. Scrape down the bowl, and blend again for a few seconds. This creates a light, creamy base that helps the hummus become silky smooth.
Don't discard the chickpea liquid (aka: aquafaba). Reserve the aquafaba and add a little gradually while blending. It provides just enough moisture to loosen the hummus without making it watery.
Add ice cubes at the end of the blending process. This is the final step and the secret to my ultra-smooth hummus! A few ice cubes help create a lighter, creamier texture as the ingredients blend.
Blend longer than you think (I give approximate times for each step in the recipe above). For truly silky Red Beet Roasted Garlic Hummus, let your food processor do the work. Scrape down the sides as needed (more often than you think, as some ingredients stick to the bottom and sides of the processor) and continue blending until the hummus is completely smooth and creamy.
It’s time to customize and Pimp My Recipe.
Pimp My Recipe:
Make it with Raw Garlic: Don’t want the extra step of making a head of roasted garlic? Just use 2 large cloves of raw garlic instead - just know that the process is a bit different. First add the lemon juice and raw garlic to the processor. Process until garlic is finely minced (almost a paste), then add remaining ingredients as noted in Step 4 of the recipe card above.
Enjoy and let me know what you think by commenting below, rating my recipes, subscribing, following, and liking Prep My Recipe on Pinterest, Instagram, Facebook, YouTube, and TikTok! Don’t forget to subscribe to get updates on new recipes and tips & tricks.
Happy Cooking!
Mich
Footnote: Remember to reserve the chickpea liquid (aquafaba), as this helps add an creamy texture in the hummus.

Every editorial product is independently selected. I may be compensated or receive an affiliate commission if you purchase products via these links. As an Amazon Associate, I earn from qualifying purchases.